Turnigy 9X
Various TXs can be used with the MiruMod, but because I own Turnigy 9x I've decided to share some tips for using that TX with MiruMod. It has 8CH, many knobs and switches and a variety of configurable options in the menu. It is a good value for money TX and you can buy it e.g. from Hobby King. It looks like on the picture below.
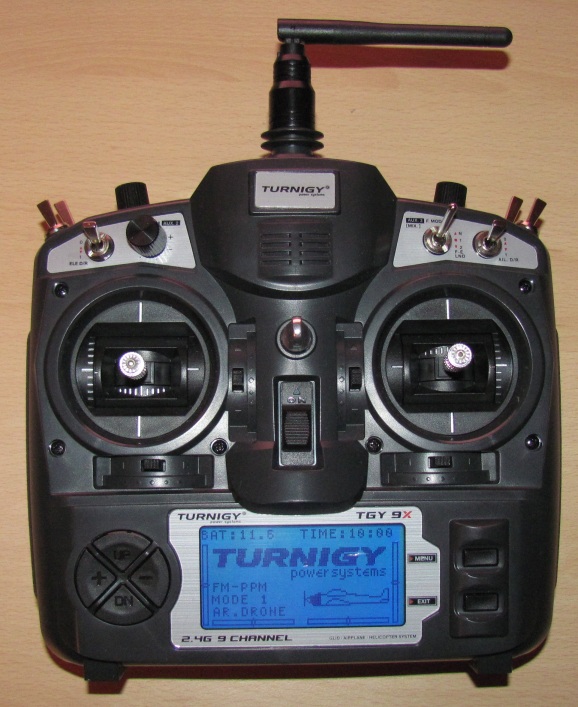
Click image to zoom.
User mannual can be found HERE
LCD backlight
Originally Turnigy 9x comes without a LCD backlight. Fortunately you can easily get and install one for as much as $5 (+S&H). You can buy the DIY kit from Hobby King. Available colors are: BLUE (that is the one installed in my TX which you can see on the picture above), GREEN and WHITE
Installation instructions can be found HERE
Changing from Mode 1 to Mode 2 or vice versa
Have a look at this great guide from iFixit.Don't forget to change the mode in the TX's menu as well
Adding centering spring on throttle stick
You will need:
- centering lever
 - you can try to order one here (did not try that myself)
 - centering spring
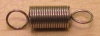 - you can get one from ssgtmacgyver
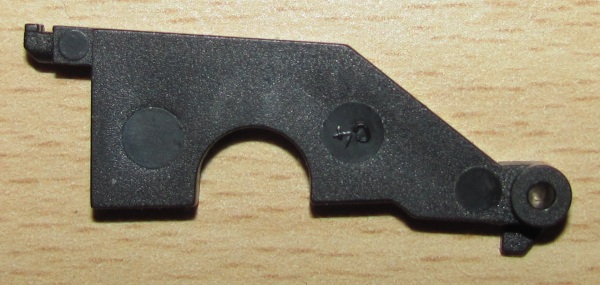

Once you have the above all you need is to follow the same iFixit guide as above, but instead of moving the lever/spring + tensioner from one stick to another (skip STEP 6 and STEP 7) just add the another lever/spring set (see STEP 8 and STEP 9). Don't forget to keep the tesnioner from STEP 5 in a safe place (you may need it in the future).
Configuring 3 position switch
Based on the tutorial by richardmrazek
First make sure you have ACRO selected as your model type in SYSTEM SETTING -> TYPE SELE menu (see picture below).

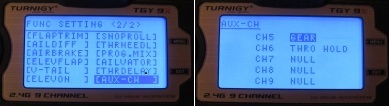
Then enter the FUNC SETTING menu.
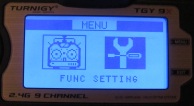
After that go to AUX-CH menu and setup auxilinary channels as on the picture below.
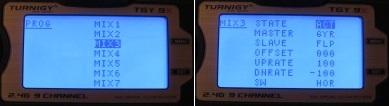
Finally go to PROG.MIX menu...
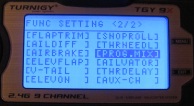
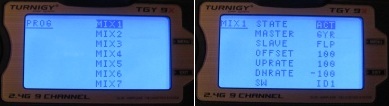
...and configure 3 mixes EXACTLY as on the pictures below.
- MIX 1 (notice the OFFSET value here)
- MIX 2
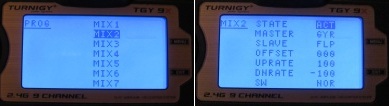
- MIX 3 (same as MIX 2)
If everything is done correctly and THR. CUT switch is kept in OFF position, the 3 position switch state should be reflected on CH. 6 and the GEAR switch state on CH. 5.
Failsafe for Turnigy 9x v2 8CH receiver
NOTE: This modification is only necessary when using sketch v017 and below. v018 and higher sketch versions will detect TX loss automatically!
Although the original Turnigy 9x v2 8CH receiver does not officially support failsafe, it is possible with a small HW hack to enable failsafe option that will work with MiruMod. That should prevent the Drone from going up to the space or flying away by automatically triggering the LAND command when out of TX range. To achieve that you need to do the followig:
- solder a wire going from RX's LED to the D8 pin of the arduino (this post shows the exact soldering point on the RX)
- modity the FSAF_ENA define in the sketch to #define FSAF_ENA 1
- you may also define how quickly after losing the signal the MiruMod will autoland by modifying the MERX define in the sketch
If you like the MiruMod and would like to buy miru a beer or two for his great work you can do so using the PayPal "Donate" button below