GPS
Starting from version 0.18 MiruMod provides official support for GPS. More detailed instructions on how to connect, configure and use the GPS with the Drone, together with (hopefully growing) list of recommended GPS modules can be found below. You may also refer to this post from miru and the readme file provided with the sketch for some additional details.
Recommended GPS modules
Here is the list of recommended GPS modules, note that the modules come in 3.3V or 5V versions, both of which require differet connection to Arduino
- 3.3V modules
-
GMS-G9 (dual system GPS/GLONASS) manufacturer website
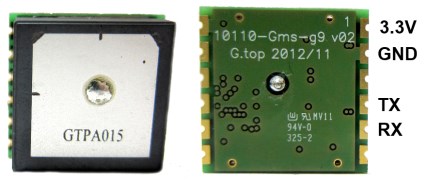
Click image to zoom.
-
LS20031 Item#1249 at Pololu
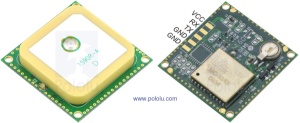
Click image to zoom.
It comes without a connector but here you can find a nice tutorial that describes how to solder one. -
Venus GPS GPS-11058 at Sparkfun + antenna GPS-00177 at Sparkfun
(requires GPSviewer to setup)
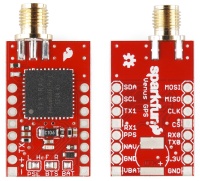

Click images to zoom. -
Adafruit Ultimate GPS Module (MTK3339) ID 790 at Adafruit
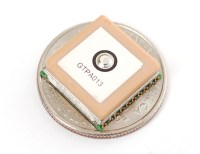
Click image to zoom. -
GP-635T GPS-11571 at Sparkfun + connector PRT-10361 at Sparkfun
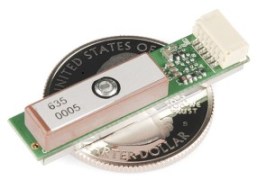
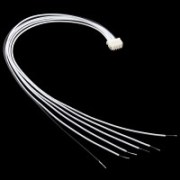
Click images to zoom.
-
- 5V modules
-
DIY Drones MediaTek MT3329 MT3329-02 at DIY Drones
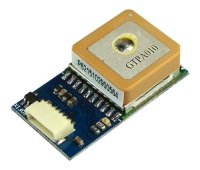
Click image to zoom.
-
Setting up the Drone to use GPS
First you need to connect the GPS to the Arduino board (TX/RX, GND and power). Make sure you feed the right voltage (3.3V or 5.0V depending on the GPS module you use) - refer to the connection diagrams in the HW section. Note that for 3.3V modules you will need a 4k7 resistor on the GPS RX line when connecting to Arduino or PC. For PC connection you may alternatively use 3.3V version of the FTDI board (or modified version of the 5V board - see here).
Note that due to power consumption requirements at the moment GPS connection is only supported for Arduino Nano. Arduino Pro Mini will not be able to cope with the extra load.
Secondly you need to upload the Autopilot program to the Drone. It is called pilot.arm for v0.18 or pilotXXX.arm for v0.19+ (where XXX stands for the revision of the mod) and can be found in the zip file together with the sketch:
- for AR.DRONE v1.0 you will need a laptop with WiFi
- first boot the drone and connect the laptop to drone's WiFi network
- then use FTP client or Windows Explorer and connect to ftp://192.168.1.1/
- after that transfer the pilotXXX.arm file there
- after the transfer finishes telnet to 192.168.1.1 and execute the sync command
- for AR.DRONE v2.0 you will need a pendrive (you can also use the same method as for AR.Drone v1.0, but the pendrive method is much easier)
- copy the pilotXXX.arm file to pendrive
- plug the pendrive into the drone's USB socket (next to power plug)
Finally you need configure your GPS module (the procedure to do so may be different for different GPS modules). The recommended settings are provided below (note that this may differ for different GPS modules). In v0.19+ if your GPS is configured differently MiruMod will attempt to force that configuration on each boot.
- set GPS baud rate to 38400
- set GPS refresh rate to 5Hz
- disable all messages except GGA and RMC (all other messages are ignored by the sketch anyway so this will reduce some unnecessary workload)
Note that if your GPS by default has all the messages disabled or the baudrate is greter than 57600 MiruMod will not be able to configure and communicate with the GPS. You will have to use an externall program (e.g. MiniGPS v1.4) to change the default settings first.
How to use GPS?
After connecting and configuring the GPS first use the mod's SETUP mode to check if the GPS is working. Make sure it gets lock, which is usually signalled by the GPS' LED (may be tricky inside the building).
Once verified in SETUP mode you can try it on the Drone. Boot the drone, wait until GPS gets the lock (observe the GPS' LED) and do the FTRIM command. It will store the current position as the 'home' position. If the 'home' position gets locked, the drone blinks the motor lights red/green versus just green in response to the FTRIM command.
To activate the auto pilot you have to switch to FM3 (do FM2->FM1->FM2 switch, but leave the ELEVATOR/AILERON stick alone). It should go forward for a little while to figure out the heading, but then come back to the home position. The auto pilot is strictly lateral, meaning it does NOT control altitude nor yaw, but you can do that from the TX. If you touch the ELEVATOR/AILERON stick or switch to FM1/LAND, it disengages the auto pilot (switching to LAND will of course land the drone as well). Switch back into FM3 if you want it to restart. Once it reaches home, it goes into a FM1 hover until it is pushed out of a 15 Meter circle (wind or GPS jump), in which case the pilot reengages to bring it back in.
Note that RTH requires at least 40% of maximum thrust so it will not engage for configs that have the max_euler value smaller than 0.21 (or max. tilt smaller than 12 deg if you use sketch configurator). This means it will e.g. not work in Easy mode if you use the default values.
If you like the MiruMod and would like to buy miru a beer or two for his great work you can do so using the PayPal "Donate" button below

